

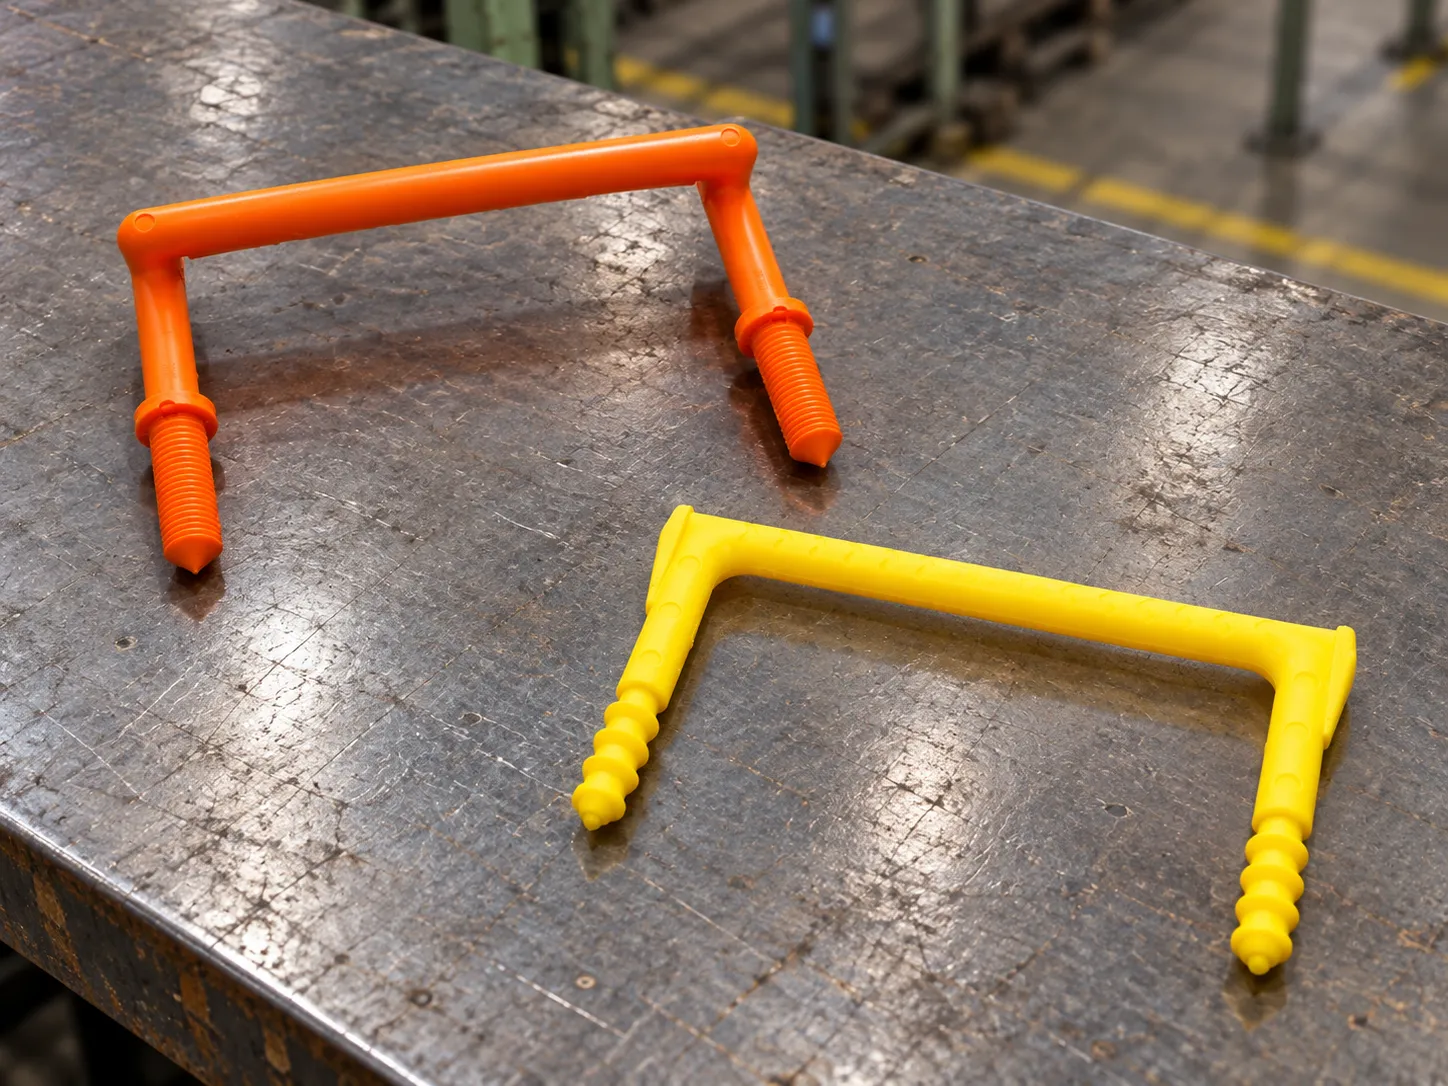
A sample that passes on your desk can still turn into 5,000 steps that won’t go into your moulds.
That’s because sample approval has to answer two questions, and most buyers only ask the first:
- Does this sample meet our requirements?
- Will mass production actually reproduce this sample?
The second one is where orders go wrong. A sample can be hand-finished, coated in a small batch, or made on tooling that isn’t the production tooling. If you approve it without checking how it was made, you’ve approved a one-off. And any problem you miss gets repeated in every piece of the order.
This guide walks OEM buyers, importers and precast plants through the whole process: setting the criteria, checking the sample, recording what’s wrong, and deciding when it’s safe to start production.
Short answer: agree written pass/fail criteria before sampling, confirm the sample was made the production way, check dimensions, fit, material, coating, workmanship, test evidence and packaging against those criteria, close every deviation in writing, then release production and check the first batch against the approved sample.
Define the Acceptance Criteria Before the Sample Is Made
Write down what “pass” means before the supplier starts. If you don’t, approval turns into a matter of opinion. That opinion might be fine today, but it won’t settle a dispute once a container has arrived.
Confirm the Approved Drawing and Revision
Get the drawing number, revision, date and approval status in writing. Then mark what matters most: critical dimensions, tolerances, the anchoring end, the installation interface, and anything that must not change.
If the drawing has gaps, list them as open questions. Don’t let the supplier fill them in. Their guess may look sensible and still be wrong for your wall.
Working from an old part instead of a drawing? Get it turned into an approved drawing first. A supplier offering drawing review and sample matching for custom manhole steps can do this before any sample is made.
Specify Material, Finish, and Application Requirements
“Plastic-coated” isn’t a specification. Spell out:
- Core material and grade
- Finish: polypropylene (PP) encapsulation, hot-dip galvanizing, or something else
- Colour, texture and required marking
- Service environment: sewer, stormwater, telecom chamber, water treatment
The environment matters because it drives the finish choice. If you leave it out, the supplier will choose the finish for you.
Agree on Tests and Pass/Fail Criteria
For each check (dimensions, appearance, material, performance, packaging), agree on five things:
- The method
- The standard and its edition
- The acceptance limit
- How many pieces are checked
- Who carries out the check
Plan the sample quantity around the tests. Load, pull-out and impact tests can damage or destroy the pieces they’re run on, so a single sample can’t be both the test piece and the reference you keep.
If your project details aren’t pulled together yet, our manhole steps RFQ checklist lists what a supplier needs before it can quote or sample properly.
Confirm That the Sample Represents the Intended Production Process
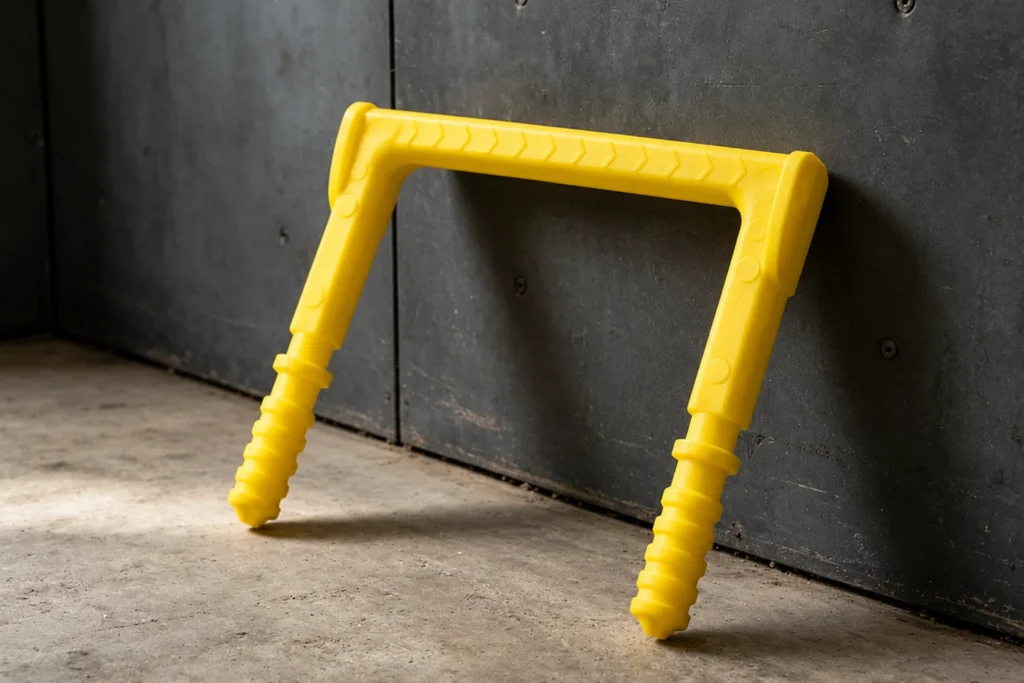
A sample only predicts production if it’s made from the same materials, with the same tooling and key process steps. Before you measure anything, find out what you’re actually holding.
Identify the Sample Type
Samples fall into four types, and only one of them is worth a full approval:
- Concept or prototype: good for discussing the design, useless for approval.
- Hand-made sample: may measure correctly, but it tells you nothing about the process.
- Trial piece from production tooling: closer, though the process may not be stable yet.
- First article from the planned production process: this is the one to approve.
Record the sample number, date, model, quantity and the drawing revision it was made to.
Verify Materials and Tooling
Ask the supplier plainly. Was this made in the production mould? On the same coating line? From the same material you’ll use for the order?
Any “no” goes on a list of differences. Then decide whether you need a new sample made under production conditions. It’s an awkward conversation to have now, and a much worse one after the first shipment.
Keep a Traceable Reference Sample
Give the approved sample an ID, photograph it, and file its measurements with the approval paperwork. For larger or repeat orders, seal two reference samples, one for you and one for the supplier. If a dispute comes up months later, both sides can compare against the same physical piece.
Inspect Critical Dimensions and Installation Fit
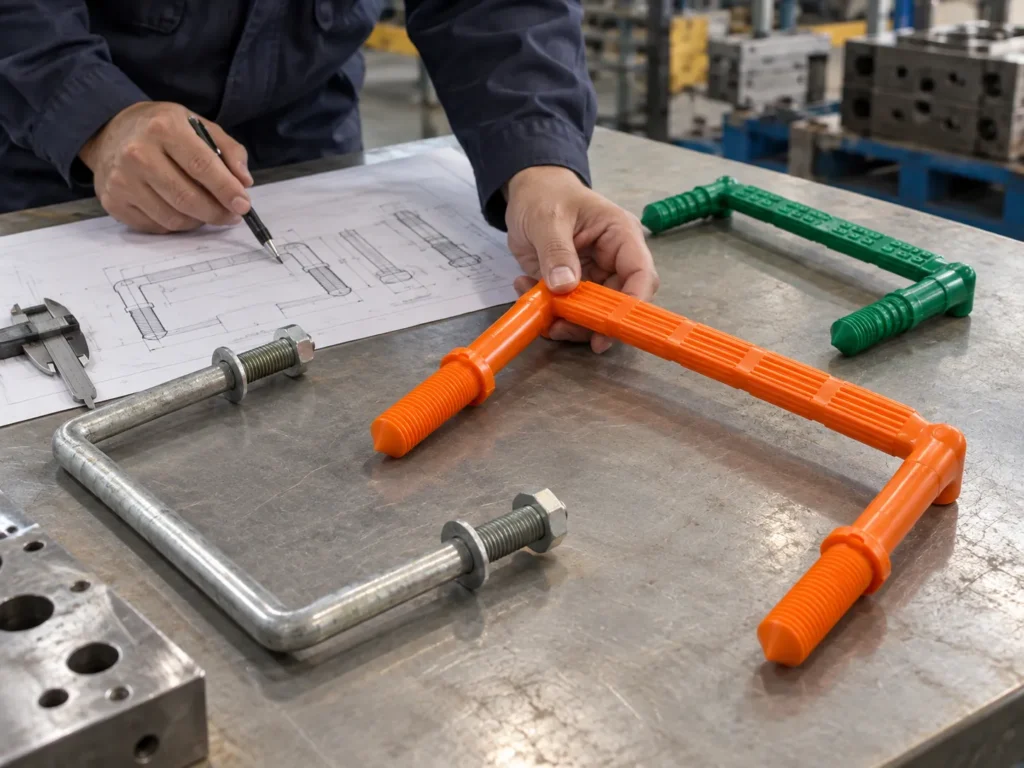
Measure every dimension that affects how the step sits in the wall or mould, not just the overall width. For each one, record the measured value against the drawing tolerance and note the tool you used.
Measure the Dimensions That Affect Fit
At minimum:
- Clear tread width
- Projection from the wall
- Leg length and embedment depth
- Leg centres or hole spacing
- Core diameter
- Anchoring end geometry (thread, foot, barb)
- Tread profile
Note the instrument for each reading: calipers, a go/no-go gauge, or a CMM if the geometry is complex. If the order size justifies it, ask for several pieces from the same run and measure all of them. One good piece shows the tooling can make a good part. Several show it does so consistently.
Check the Critical Tolerances
Start with the dimensions that have to mate with something else: formwork, pre-drilled holes, wall thickness, vertical step spacing. Take tolerances from your drawing, contract or project specification. Don’t use a “typical” tolerance borrowed from another product or market.
Perform a Practical Fit Test Where Possible
A part can pass on paper and still not fit. Wherever you can, try the sample in your actual mould, in a concrete test block, or in a hole drilled to the site specification.
Watch for:
- Does it need hammering to go in?
- Does it rock once seated?
- Does the anchor end sit at the right depth?
- Do the legs clash with the rebar or the mould?
If a step only fits with force on the bench, it’ll be forced on site as well, and the coating will take the damage.
Verify Material and Coating Quality
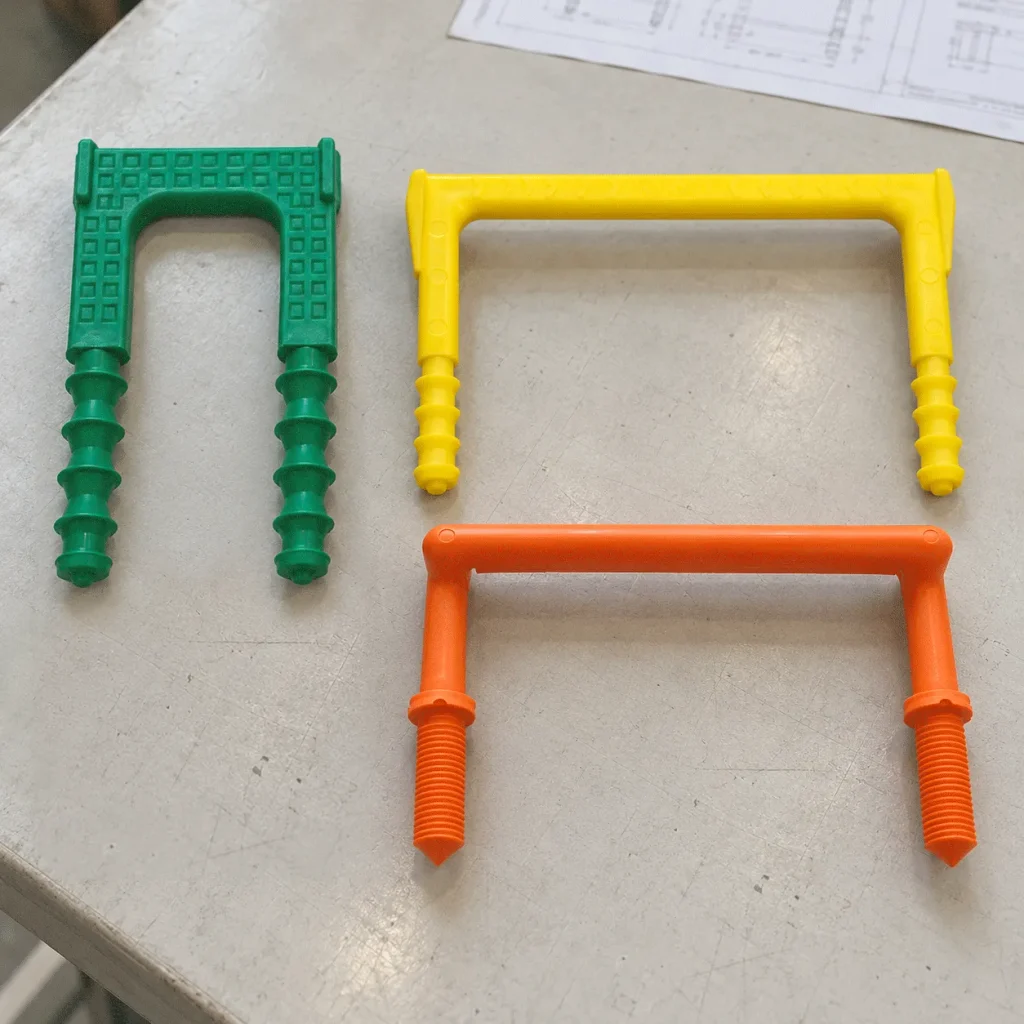
Check the material documents against the physical sample, then inspect the coating where it usually fails first: the bends, the ends and the anchoring zone.
Check the Core Material and Supporting Documents
Confirm the core material type and grade, and check that the material certificate belongs to the batch the sample came from. A certificate from a different heat or a different month doesn’t prove anything about this piece.
And don’t judge the core by the colour of the plastic. A clean orange coating tells you nothing about what’s underneath. To understand what the coating may conceal, read our guide to the internal structure of PP-coated manhole steps.
Inspect PP Encapsulation or Galvanized Finish
For PP-encapsulated steps, check for:
- Cracks, bubbles or voids
- Peeling or poor bonding to the core
- Thin coverage on the outside of the bends
- Exposed steel at the leg ends (the drawing should say which areas, if any, may be left bare)
For hot-dip galvanized steps, look for bare spots, handling damage, early rust, and zinc lumps or drips that could get in the way of fitting.
If the spec sets a minimum coating thickness, record how it was measured and the actual readings, not just “OK”. On a steel core, a magnetic coating thickness gauge works for both zinc and plastic coatings.
Not sure which finish suits the job? FERR supplies both polymer-encapsulated and hot-dip galvanized manhole steps. The choice usually comes down to the chamber environment and your project spec. For selection criteria, compare PP-coated and galvanized manhole steps before approving the finish.
Confirm Colour, Texture, and Surface Protection
Compare colour, texture and marking against the agreed reference. Then ask how the finish will be protected between the coating line and your site. A scratch through PP into the steel is a corrosion starting point, whether it happened in the factory or in a truck.
If the sample was touched up, polished or finished differently from how production will be, the supplier should tell you before you approve it, not after.
Complete the Visual and Workmanship Inspection
Inspect under fixed conditions and against defect classes agreed in advance. Otherwise “looks fine” means one thing to you and another to the factory.
Check Shape and Manufacturing Defects
Check bend symmetry, twist, distortion, cracks, burrs and flash. Run a gloved hand along every edge. A sharp edge is a safety problem as well as a quality one, because someone will be gripping this step in a dark, wet shaft.
Review Tread Surface and Safety-Related Features
Check the tread pattern, the anti-slip ribs, and any side lugs meant to stop a boot sliding off the end, all against the drawing or spec. You can’t judge slip resistance or tread dimensions from a photo, so measure or test them.
Record Visual Acceptance with Photos
Photograph the front, side, anchoring end and tread, with the sample ID visible in each shot. Then put every finding into one of three groups: acceptable, needs rework, or reject. That’s what makes the report usable when someone looks at it later.
Review Performance Test Results Against the Applicable Specification
Which tests apply depends on the step design, the market and your project spec. Once you know which ones apply, make sure the report covers this exact sample and not a similar model.
Select Tests Based on the Product and Project
Depending on the design and the spec, a manhole step may need some of these tests:
- Vertical load
- Permanent deformation after loading
- Torsion
- Pull-out or anchorage
- Impact
- Coating integrity
In Europe, the usual reference is EN 13101:2002, Steps for underground man entry chambers: Requirements, marking, testing and evaluation of conformity (BSI, SIS). In the US, requirements often come from the utility owner or a state DOT specification, such as ArDOT’s Section 609 for manhole steps.
There are no test values in this section, and that’s deliberate. Limits vary by standard, edition, step type and project. Numbers copied from a blog, including this one, are how the wrong requirement ends up in a contract. Check which standard and edition your project calls for, and confirm your step design is within its scope.
Check the Test Report, Not Just the Certificate
A useful test report shows:
- Model and sample ID
- Test date
- Method and standard edition
- Test conditions
- Measured results
- Pass/fail verdict
It should also say who ran the test: the supplier’s own lab, a third-party lab, or a test you or your inspector witnessed. All three can be valid, but you should know which one you’re relying on.
A general certificate for “manhole steps”, or a report for a different model, doesn’t prove your sample passed. It proves something passed, once. If you’re still deciding whether to trust the supplier behind the report, our guide on choosing a manhole step manufacturer for bulk projects covers how to vet a supplier’s testing.
Separate Type Testing from Production Checks
These three kinds of testing answer different questions:
- Type testing: can this design meet the standard?
- Sample testing: does this particular sample meet it?
- Production and batch checks: does every lot keep meeting it?
Agree which records continue during production, and what triggers a re-test. Common triggers are a material change, new tooling, a new coating supplier and a drawing revision.
Approve Packaging, Labels, and Identification
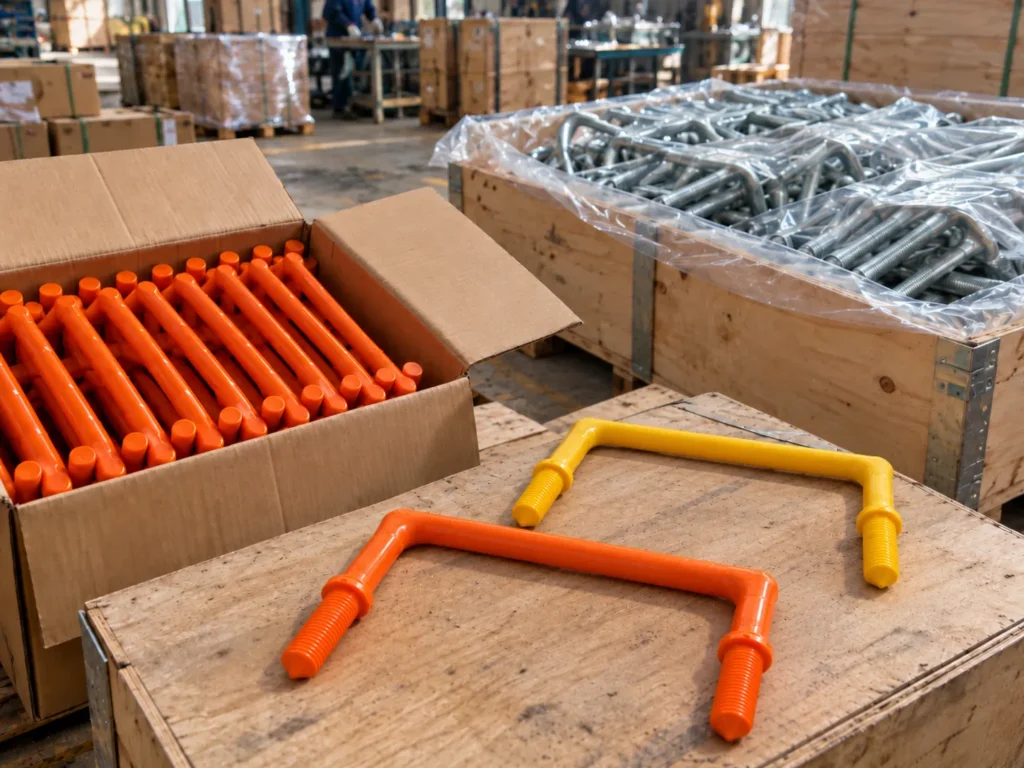
Approve packaging as a separate item. A perfect step that arrives scuffed, mislabelled or in crushed cartons will still hold up your project.
Check Packaging and Quantity per Carton
Confirm how each piece is protected, the quantity per carton, the carton size and strength, the palletising, and any export requirements. For example, wooden pallets used in international shipping generally need ISPM 15 treatment and marking.
Verify Labels and Product Identification
Check the product code, label language, branding, barcode, batch or order ID, and label version. Distributors notice these first, because a wrong barcode can stop goods at their warehouse door.
Record Packaging Approval Separately
If the step passes and the packaging doesn’t, the status is “product approved, packaging pending”. It is not “released for production”. Keeping the two apart stops a packaging problem from slipping into the bulk run.
Record Deviations and Close Corrective Actions
Every exception gets written down, assigned to someone, and signed off by the buyer. Anything agreed only on a phone call tends to be forgotten by the time production starts.
Use a Sample Inspection Report
For each item, record:
- Drawing revision and sample ID
- What was checked
- The spec or limit
- The measured result
- The verdict
- Who inspected it, and when
It doesn’t need special software. A shared spreadsheet works, as long as both sides are working from the same file.
Classify the Result Clearly
Use three statuses, and only these three:
- Approved
- Approved with Documented Conditions
- Rejected / Resubmit
A conditional approval has to list each open item, who owns it, the deadline, and whether production can start before it’s closed. If that last point isn’t in writing, treat it as not agreed.
Require Written Approval for Any Deviation
Any departure from the drawing, material or acceptance criteria needs the buyer’s written approval. When a supplier fixes something and sends a new sample, the deviation stays open until someone has re-checked that specific item.
Release Mass Production Only After Final Sample Approval
Release production only when the drawing, inspection report, test evidence, packaging sample and deviation list are complete and signed. A salesperson saying “approved, we’ll start Monday” doesn’t count as a release. Once approval is complete, confirm how MOQ and lead time are defined for the production order.
Confirm All Approval Records Are Complete
Before release, check that you have:
- The approved drawing, at the correct revision
- The signed sample inspection report
- Material and test evidence that matches the sample
- An approved packaging sample
- A deviation list with nothing open that blocks production
Lock the Approved Sample and Production Revision
Link the reference sample to the drawing revision, material, tooling, process and packaging spec. From then on, every change goes through a review, and part of that review is deciding whether a new sample is needed.
Also agree which reference wins if the two disagree. Normally the approved drawing governs anything that can be measured. The reference sample governs what a drawing can’t describe well, such as colour, texture and surface appearance. Agree on this before production starts, not during an argument about the first shipment.
Define First-Batch Verification
When production starts, compare the first pieces off the line with the reference sample before the rest of the run goes ahead. After that, normal in-process and batch quality control takes over.
This check matters because it’s the first time you see the process running at full speed rather than at sample pace.
Manhole Step Sample Approval Checklist
| Stage | What to check | Record to keep |
| Acceptance criteria | Drawing revision, tolerances, material, finish, test requirements | Approved drawing and technical requirements |
| Sample identity | Sample ID, date, model, process and tooling status | Sample log and photos |
| Dimensions and fit | Critical dimensions, measured values, installation fit test | Dimension report and fit-test record |
| Material and finish | Core material, PP coating or galvanizing, colour, texture | Material certificate, photos, coating thickness (if specified) |
| Performance tests | Applicable tests, standard edition, results, verdict | Test report for this sample |
| Packaging and labels | Carton spec, quantity, labels, barcode, label version | Approved packaging sample |
| Deviations | Nonconformities, corrective actions, written waivers | Deviation list and close-out record |
| Production release | All approvals complete, reference sample sealed, first-batch check planned | Signed approval and release record |
FAQ
What should be checked before approving a manhole step sample?
Check the drawing revision, critical dimensions and installation fit, core material and coating, workmanship, the applicable performance tests, and the packaging and labels. Each check needs a written pass/fail criterion, agreed before the sample is made.
How do you confirm a manhole step sample matches the production drawing?
Measure every critical dimension against the drawing tolerances and record the actual values and the tools used. Then test-fit the sample in your mould, in a concrete block, or in a hole drilled to site spec. A part can measure correctly and still fit badly.
Which tests may be required before mass production of manhole steps?
That depends on the step design and the project specification. Common tests are vertical load, permanent deformation, torsion, pull-out or anchorage, impact, and coating integrity. EN 13101 is the usual reference in Europe. In the US, utility or state DOT specs often apply.
Can mass production start before the packaging sample is approved?
It shouldn’t. If the product passes and the packaging doesn’t, mark the status as “product approved, packaging pending”. Starting without approved packaging risks transit damage, wrong labels and goods held up at the distributor.
What should a manhole step sample approval report include?
The drawing revision, sample ID, each inspection item, the spec or limit, the measured result, the verdict, the inspector and the date. Add photos and one overall status: Approved, Approved with Documented Conditions, or Rejected / Resubmit.
When should a supplier submit a new sample for re-approval?
Whenever something that affects the product changes: drawing revision, core material, coating material or supplier, tooling, or a key process step. A new sample is also needed if the first one was rejected or didn’t represent the production process.
Submit Your Drawing or Sample for Review
Have a drawing, an old part you need to match, or a sample you’d like a second opinion on? Send it over. FERR reviews the drawing first, confirms material and finish options for your application, and can include sample or first-article approval before batch release.